In November 2022 I wrote an article about Google’s Secure Connections Initiative, a program that helps make the internet more secure by promoting the use of HTTPS (Hypertext Transfer Protocol Secure). HTTPS is a protocol that encrypts data sent between a web browser and a web server, making it more difficult for attackers to intercept and steal sensitive information.
It’s a popular article but doesn’t cover much in the way of how to go about installing the SSL certificate once you’ve made the purchase. Today we’ll cover some of the technicals involved.
The basics of installing a SSL certificate
The process of installing an SSL certificate on a website can vary depending on the web hosting provider and the specific configuration of your website. While it may not be extremely difficult, it can require technical knowledge and familiarity with the web server software you’re using. Here are the general steps involved in installing an SSL certificate:
- Generate a Certificate Signing Request (CSR): You need to generate a CSR from your web server, which typically involves creating a private key and providing your organization and domain information.
- Purchase or obtain an SSL certificate: You can purchase an SSL certificate from a trusted Certificate Authority (CA) or use a free certificate from Let’s Encrypt. Make sure to choose a certificate that matches the requirements of your website (e.g., domain validation, organization validation, or extended validation).
- Install the SSL certificate: The specific steps to install the certificate depend on your web hosting environment. Some hosting providers offer automated SSL installation processes, while others may require manual configuration. You may need to access your server’s control panel or use Secure Shell (SSH) to upload the certificate files.
- Configure your web server: After installing the certificate, you typically need to configure your web server to use the certificate for secure HTTPS connections. This involves updating the server configuration file with the SSL certificate details, including the private key, certificate file, and any intermediate certificate chain.
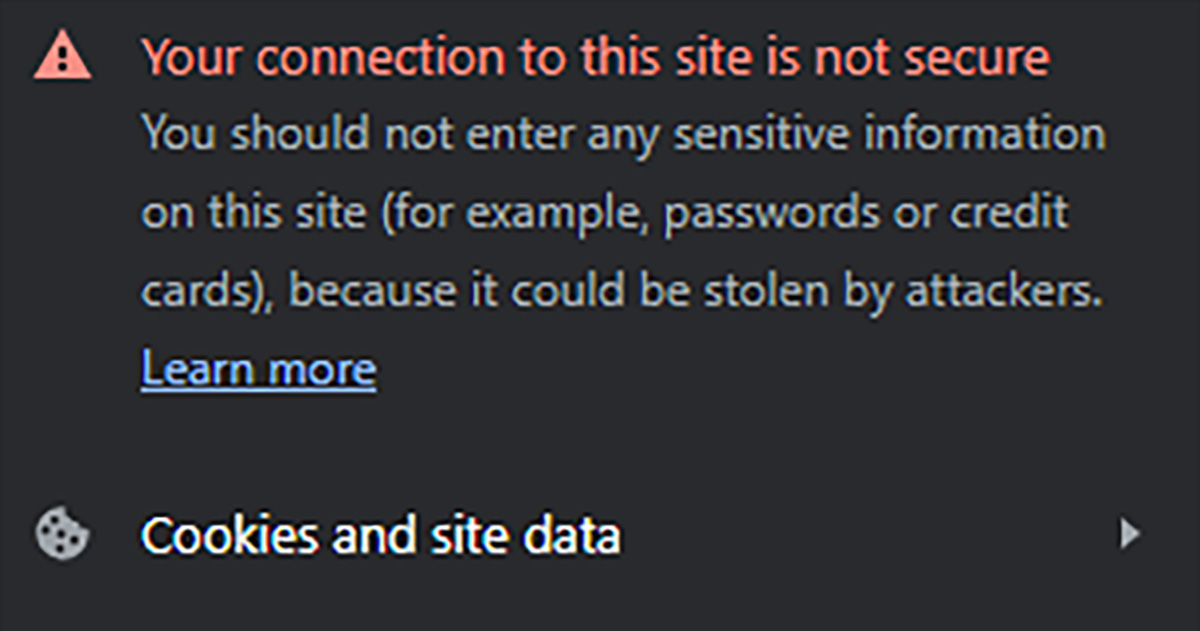
- Test and verify: Once the certificate is installed and the server is configured, you should test your website to ensure that HTTPS connections are working correctly. Verify that your SSL certificate is recognized as valid and trusted by visiting your website via HTTPS and checking for the padlock icon in the browser’s address bar.
It’s important to note that the above steps provide a general overview, and the actual process may vary depending on your specific hosting environment and web server software. If you’re not comfortable with these technical tasks, you can consider seeking assistance from your web hosting provider or a web developer who can help you with the SSL certificate installation process.
How much time is required?
The time required for a layperson to install an SSL certificate on their website can vary depending on their technical skills and familiarity with web hosting environments. Generally, the process can take anywhere from a few hours to several days, depending on the complexity of the website and the individual’s comfort level with the technical aspects involved.
If you are a novice with limited technical knowledge, it may take longer as you would need to familiarize yourself with concepts such as generating a CSR, purchasing an SSL certificate, and configuring your web server. This may involve researching and following step-by-step guides or tutorials specific to your web hosting platform.
On the other hand, if you have some experience with web hosting and server administration, the process may be quicker. Many hosting providers offer streamlined interfaces and automated tools to simplify the installation process, making it more accessible to users without advanced technical expertise.
It’s important to allocate sufficient time for troubleshooting and testing after the installation to ensure that the SSL certificate is properly installed and functioning correctly on your website.
If you’re unsure about the technical aspects or feel overwhelmed, it’s recommended to seek assistance from your web hosting provider or consult a web developer who can help you with the SSL certificate installation process and ensure its proper configuration.
Are all SSL certificates the same?
The general process of installing an SSL certificate is similar regardless of where you purchase the certificate. However, there may be some variations in the specific steps or tools involved depending on the certificate authority (CA) or the certificate type you choose. Here are some key points to consider:
- Certificate generation and CSR: When you purchase an SSL certificate, regardless of the CA, you will typically need to generate a Certificate Signing Request (CSR) from your web server. This step involves creating a private key and providing your domain and organization information.
- Certificate acquisition: The process of purchasing or obtaining the SSL certificate can vary between CAs. Some CAs offer their own management platforms where you can generate the CSR and complete the purchase in one place. Others may require you to generate the CSR separately and then provide it during the certificate purchase process.
- Certificate installation: After acquiring the certificate, the process of installing it on your web server will depend on your hosting environment. You may need to access your server’s control panel, use Secure Shell (SSH), or utilize specific tools provided by your hosting provider or CA.
- Server configuration: Once the certificate is installed, you will need to configure your web server to use the SSL certificate for secure HTTPS connections. This involves updating the server configuration file with the SSL certificate details, such as the private key, certificate file, and any intermediate certificate chain. The specific steps may vary depending on your server software (e.g., Apache, Nginx, Microsoft IIS).
While the overall process remains similar, it’s important to carefully follow the instructions provided by the certificate provider or consult their documentation for any specific requirements they may have.
If you encounter any difficulties or are unsure about the installation process, it’s recommended to consult the documentation or support resources provided by the certificate issuer or contact their customer support for guidance specific to their product. Additionally, your web hosting provider may also be able to assist you with the installation process, as they are often familiar with the specific requirements of different certificate providers.
Not all SSL certificates are equal
Not all SSL certificates are the same. There are different types of SSL certificates that offer varying levels of validation and security features. Here are the common types of SSL certificates:
- Domain Validated (DV) Certificates: These certificates provide basic encryption and validate only the ownership of the domain. They are relatively easy to obtain and are typically the most affordable option. DV certificates are suitable for personal websites, blogs, or small businesses.
- Organization Validated (OV) Certificates: OV certificates provide a higher level of validation by verifying not only the domain ownership but also some organization details, such as the company name and address. OV certificates are often used by medium-sized businesses and e-commerce websites.
- Extended Validation (EV) Certificates: EV certificates offer the highest level of validation and provide the most prominent trust indicators in web browsers, such as a green address bar. They undergo a rigorous verification process that includes legal, physical, and operational checks. EV certificates are commonly used by large organizations, financial institutions, and e-commerce platforms.
- Wildcard Certificates: Wildcard certificates secure a domain and its subdomains. For example, a wildcard certificate for “example.com” would also cover “subdomain.example.com,” “mail.example.com,” etc. They can be useful if you have multiple subdomains to secure.
- Multi-Domain (SAN) Certificates: Multi-Domain certificates, also known as Subject Alternative Name (SAN) certificates, can secure multiple domains or subdomains within a single certificate. They are convenient if you have several websites or subdomains hosted on different domains.
Additionally, SSL certificates can differ in terms of the certificate authority (CA) that issues them. It is important to choose a reputable and trusted CA to ensure the credibility of the certificate.
The choice of SSL certificate depends on your specific needs, the level of validation and security you require, and your budget. When obtaining an SSL certificate, it is recommended to evaluate the different types and options available to select the one that best suits your website’s requirements.
Summary
Installing an SSL certificate on a website involves several steps, which can vary depending on the web hosting provider and specific configuration. While not excessively difficult, it requires technical knowledge and familiarity with web server software. The process typically includes generating a Certificate Signing Request (CSR), purchasing or obtaining the SSL certificate, installing it on the server, configuring the web server to use the certificate, and conducting testing to ensure proper functionality. The time required for installation can range from a few hours to several days, depending on individual technical skills. While the overall process is similar regardless of where the certificate is purchased, there may be variations in specific steps and tools involved. Different types of SSL certificates, such as Domain Validated (DV), Organization Validated (OV), Extended Validation (EV), Wildcard, and Multi-Domain (SAN) certificates, offer varying levels of validation and security features. It is important to choose the appropriate certificate type based on the website’s needs.